Create a pipeline template
Harness templates let you standardize builds for all your services and distribute them across teams. Templates are reusable builds with a common configuration that conforms to organizational standards, making maintenance easier and less prone to errors.
Template benefits
A pipeline template lets you distribute reusable pipelines across your team or among multiple teams. Instead of building pipelines from scratch, templates simplify the process by having parameters already built-in.
Benefits include:
- Share common logic without duplicating it on multiple pipelines. For example, if you have some tasks or operations that every pipeline must do, then make them a part of a template to use in your pipelines.
- Reduce the complexity and size of creating a single pipeline.
- Set a pattern that you and your team can follow throughout your pipelines.
- Save time and create generic templates that you can use across all scopes in your Harness account.
- Add or remove a change in one file rather than a lot of stages.
For example, you can automate your build and deploy services by adding a pipeline template. You can link the following templates to your pipeline template:
- Build stage: To push the artifact to the registry, run tests, and security scans.
- Staging deploy stage: To deploy to Dev, QA.
- Approval stage: To add approval stages for PROD.
- Prod deploy stage: To deploy to Production.
Before you begin
- Failure strategy and notification settings can only be provided when you create a template, not when you use it in a pipeline.
- You need permissions to create/edit, delete, and access templates to create a pipeline template.
- You can add templates at any scope in Harness.
The following table shows what it means to add templates at different scopes or hierarchies:
| Scope | When to add templates |
|---|---|
| Account | To share step/stage/pipeline templates with users in the account, as well as users within the organizations and projects created within this account. |
| Organization | To share step/stage/pipeline templates with users in the organization as well as within the projects created within the org. |
| Project | To share step/stage/pipeline templates with users within the project. |
- You can either link an existing stage template or add a stage to your pipeline template.
- You can either link to a step template or add a step for any new step that you add to your pipeline stage.
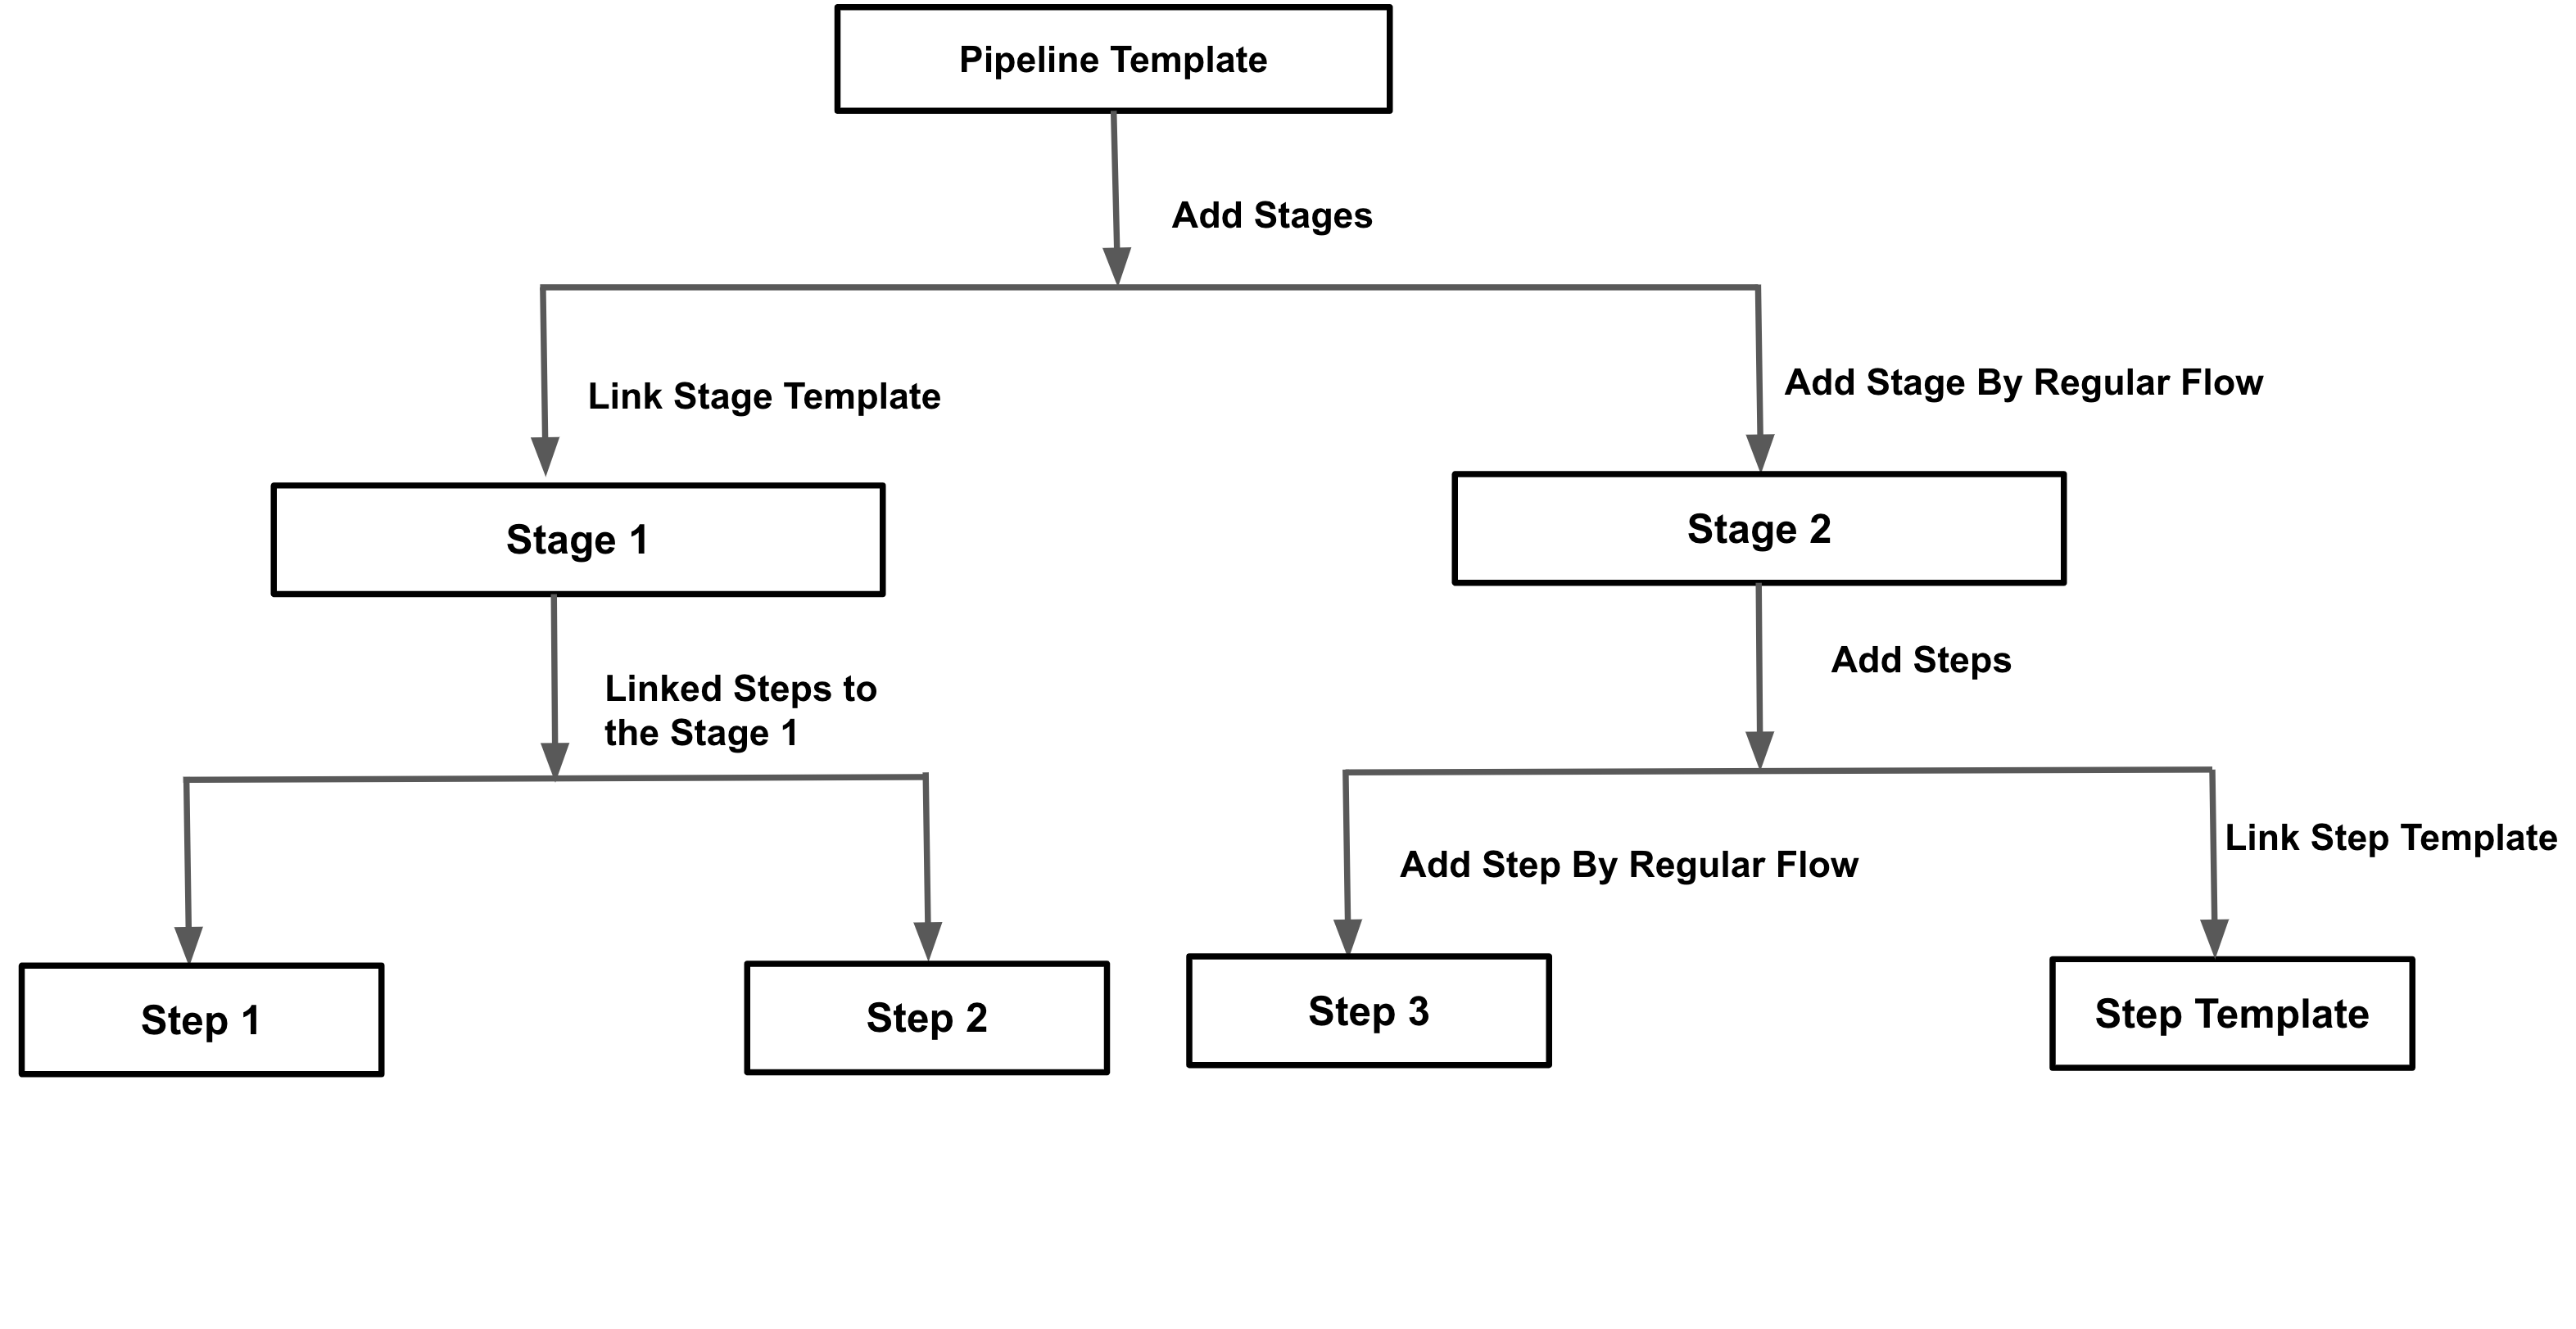
Create a pipeline template
Harness templates allow you to design reusable content, logic, and parameters, ensuring that the application is the major focus of your pipelines. Instead of creating pipelines from scratch each time, Harness lets you select from pre-built templates and link them to your pipelines. The process of developing pipelines thus becomes easier by reducing duplication and increasing reusability.
Tutorial: Create a CD pipeline template
This tutorial focuses on how to use templates with Harness CD pipelines. We will guide you through saving a sample deployment pipeline as a template, and then using it to get started with a new pipeline at project level.
- Make sure you have followed the get started with CD tutorial and have the
guestbookdeployment pipeline up and running. - In the Pipeline Studio of the
guestbookpipeline, select the dropdown menu next to Save, and select Save as Template. - Enter the Name
harness-deployment-templateand the Version Label0.0.1. - For this tutorial, select Save To
Project. There are three Save To options that declare the scope where the template is created. - Set up the template to be stored inline (in the Harness Platform) or in a remote Git repo.
- Inline
- Remote
- Select Inline and Save the Template.
- Go to Templates under Project Setup in the left navigation.
- In Git Connector, select the
harness_gitconnectoryou created during the get-started tutorial It will pre-fill the other settings. - Select Save.
- Connect to your Github account and select Commit to a New Branch.
- Select Save.
- Harness will create the template and push it to Github.
- When prompted to use use the template, select No.
- Check your forked
harenesscd-exampleapps repo and under master-patch branch you'll find the deployment-template under.harnessdirectory.
To use the pipeline template to create a pipeline:
- In Default Project, select Pipelines.
- Select New Pipeline.
- Enter the name
guestbook_template_pipeline. - Select Inline to store the pipeline in Harness.
- Now select Start with Template.
- Select the
harness-deployment-templateyou just created and select Use Template. - Select Save and then select Run to run the pipeline.
The harness-deployment-template will only work under the default_project which already has all the pipeline resources created during get started pipeline.
Step 1: Add a template
You can create a pipeline template from your account, org, or project. This topic explains the steps to create a pipeline template from the project scope.
To add a template, do the following:
-
In your Harness, go to your project.
-
Select Project Settings, then, under Project-level resources, select Templates.
-
Select + New Template, and then select Pipeline. The Create New Pipeline Template settings open.
-
In Name, enter a name for the template, for example
Quickstart. -
(Optional) Select the pencil icon to enter a Description.
-
(Optional) Select the pencil icon to add Tags.
-
In Version Label, enter the version of the stage, for example,
v1. Versioning a template enables you to create a new template without modifying the existing one. For more information, go to Versioning.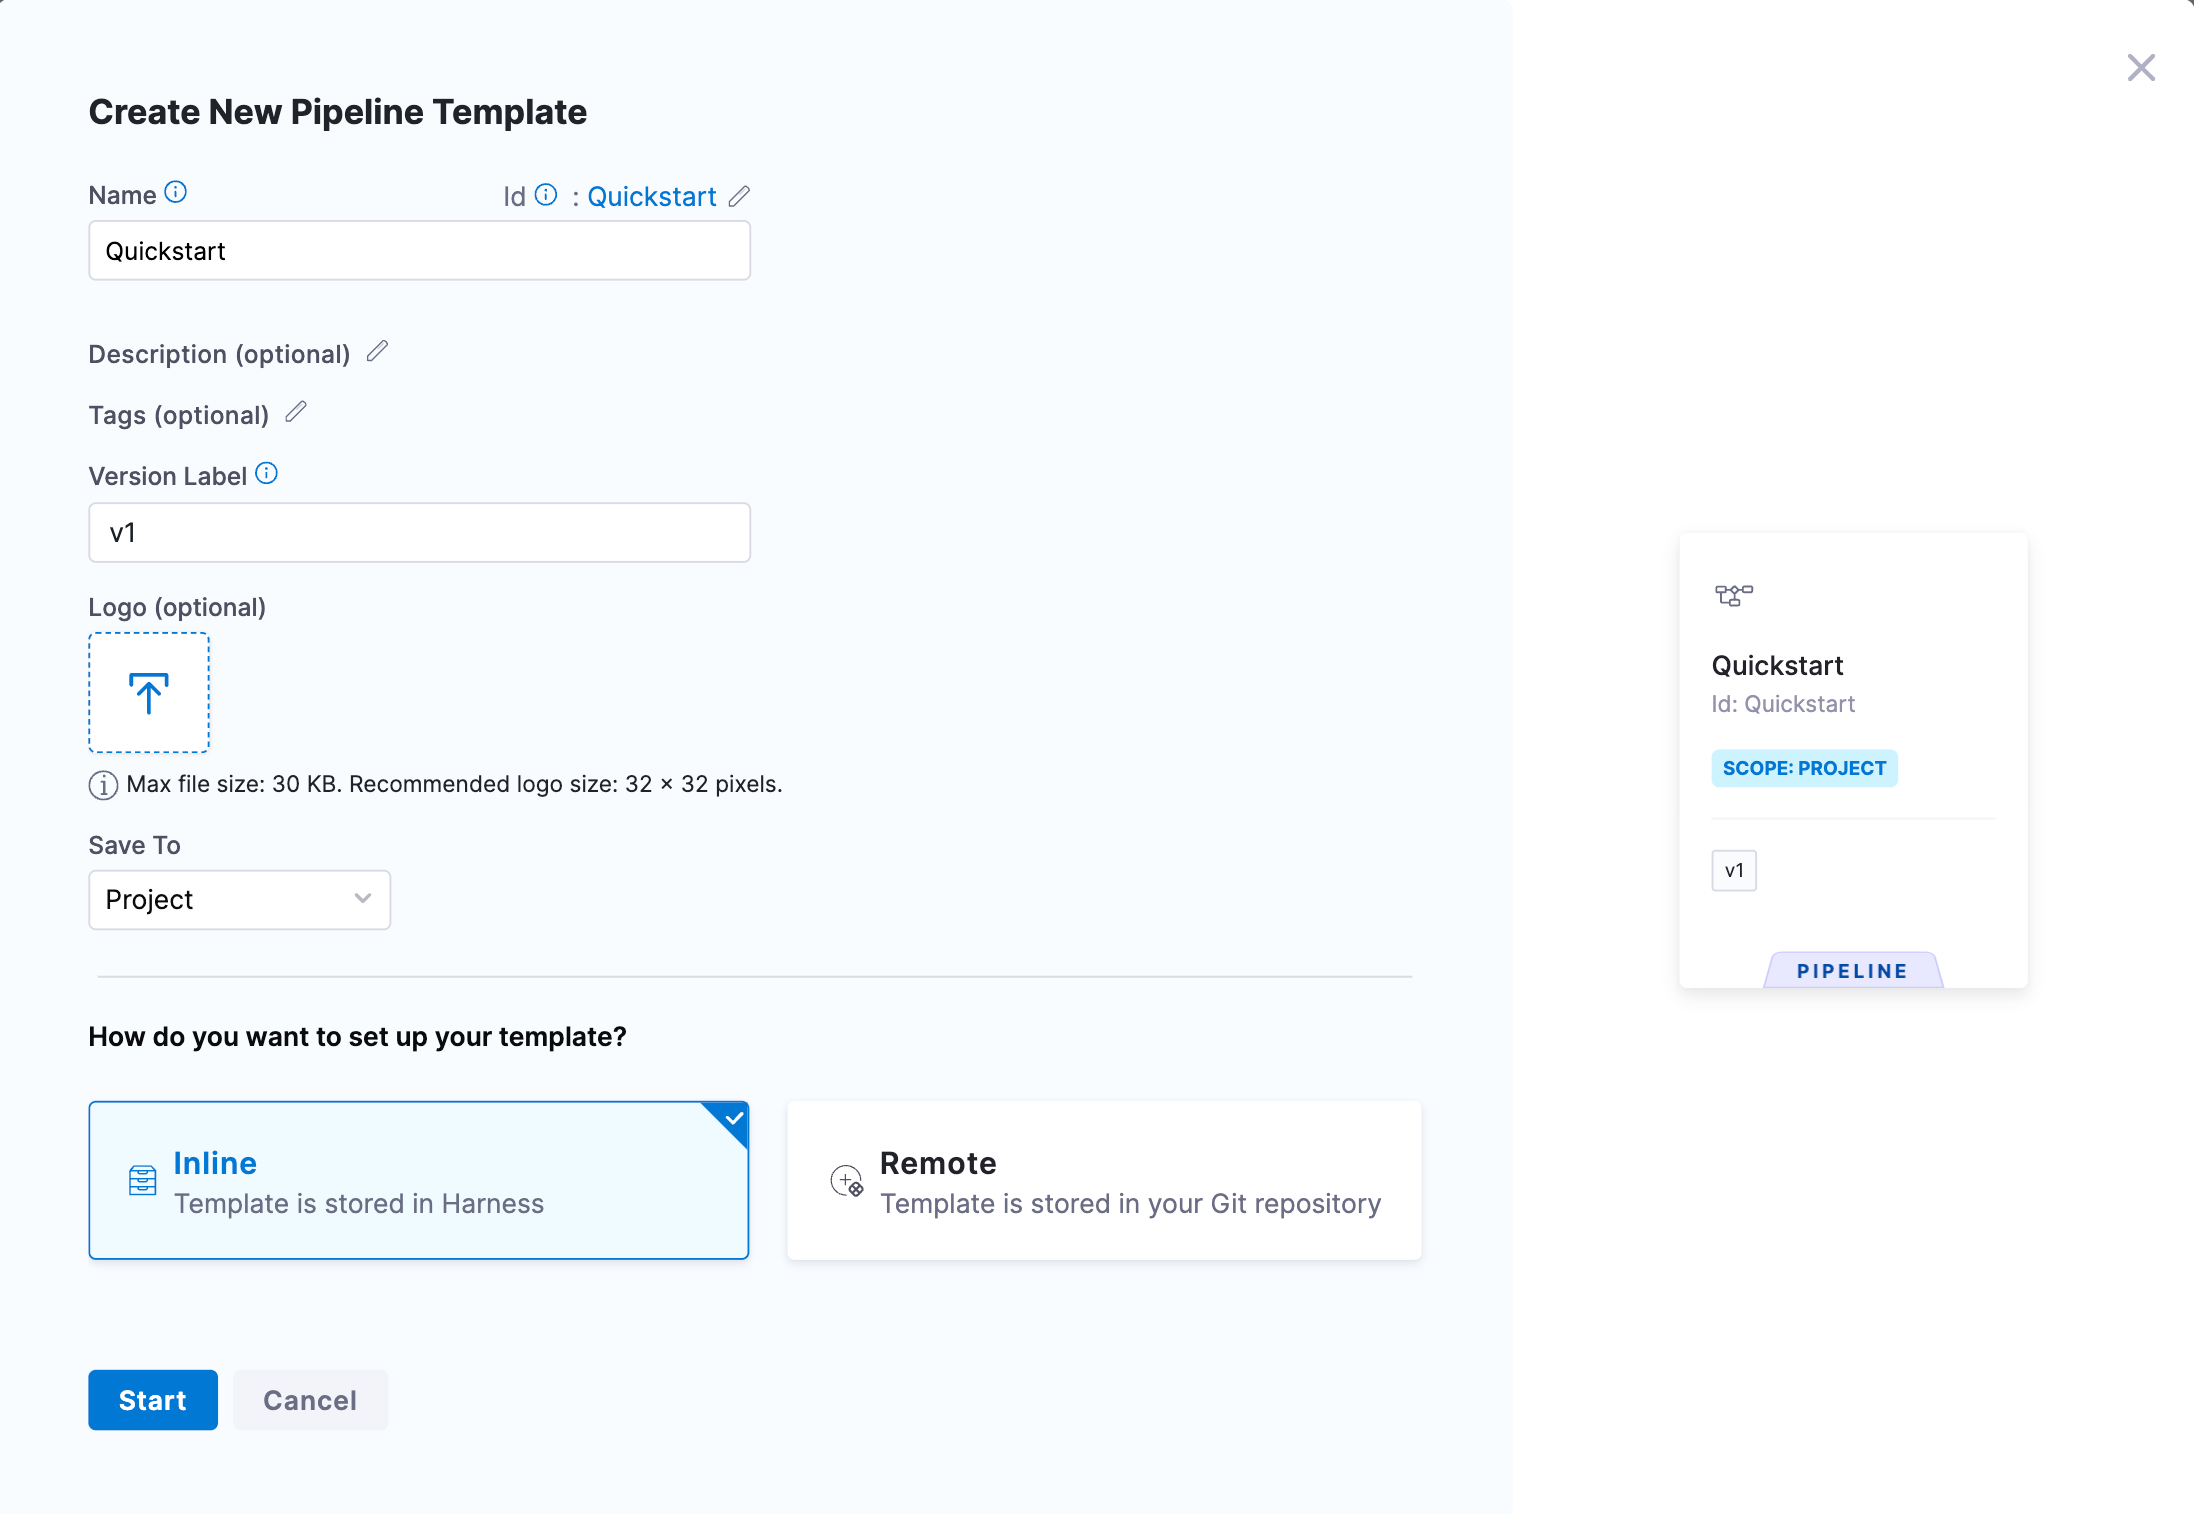
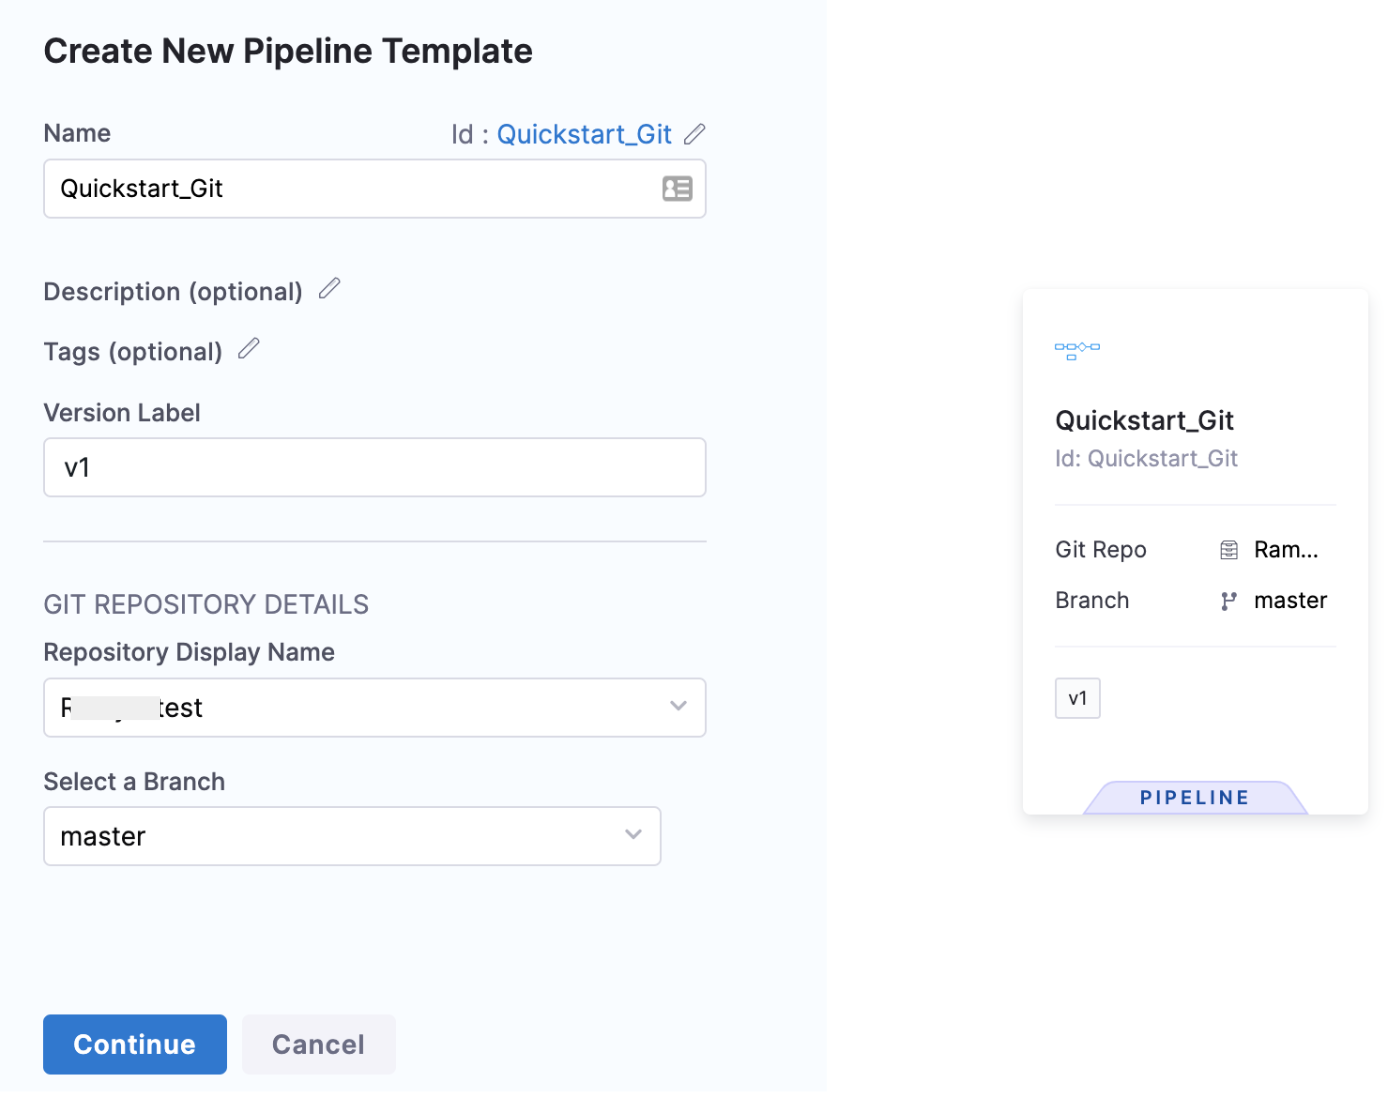
You'll see the Git Repository Details option only if you're creating a template on a Git-enabled project. For more information, go to Harness Git Experience overview.
-
In Git Repository Details, in Repository Display Name, select your Git repository and Branch.
-
(Optional) Select the Logo icon to upload a logo image file.
-
From the Save To list, select the scope where you want to save the template: Project, Organization, or Account. For this example, select Project.
-
Under How do you want to set up your template?, select Inline.
-
Once you've entered all the details, select Continue.
Step 2: Add a stage
This example uses the Deploy stage. The Deploy stage type is a CD stage that enables you to deploy any service to your target environment.
Other options include:
- Build: Use CI to build, test, and push artifacts to repositories.
- Approval: Manual and Jira approval stages.
- Feature Flag: Enable or disable functionality remotely without redeploying code.
- Custom Stage: Set up a stage configurable to your needs.
To add a stage to the template, do the following:
-
Follow the steps above to add a template.
-
Select Add Stage. The Select Stage Type settings open.
-
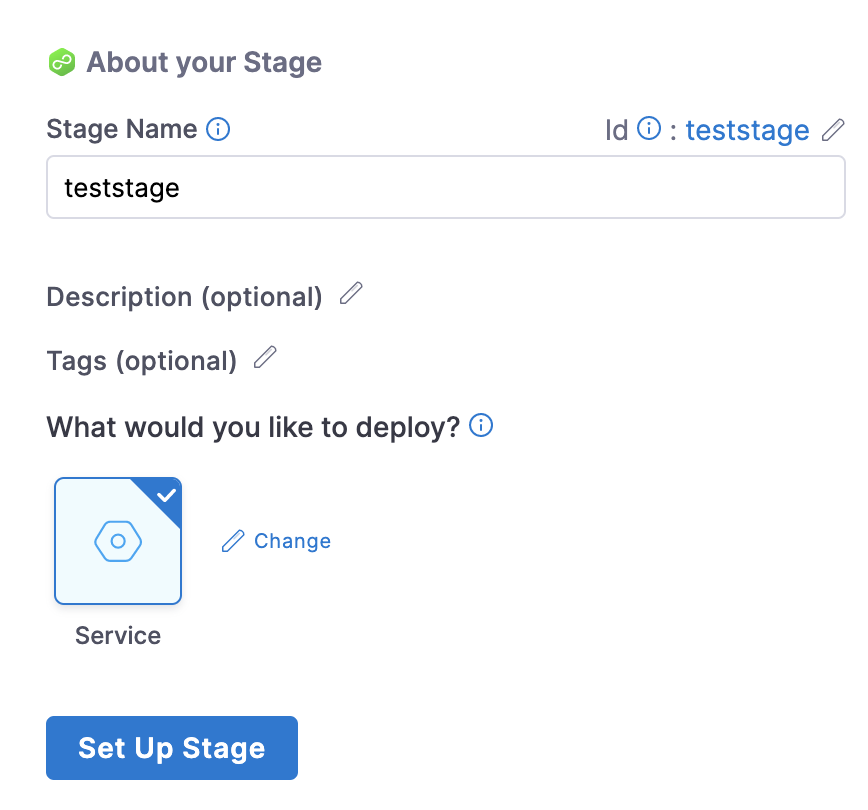
Select Deploy. The About Your Stage settings open.
-
In Stage Name, enter a name for your stage.
-
Select the entity that this stage should deploy. Currently, for deploy, only service can be deployed and it is selected by default.
-
Select Set Up Stage.
Step 3: Add service details
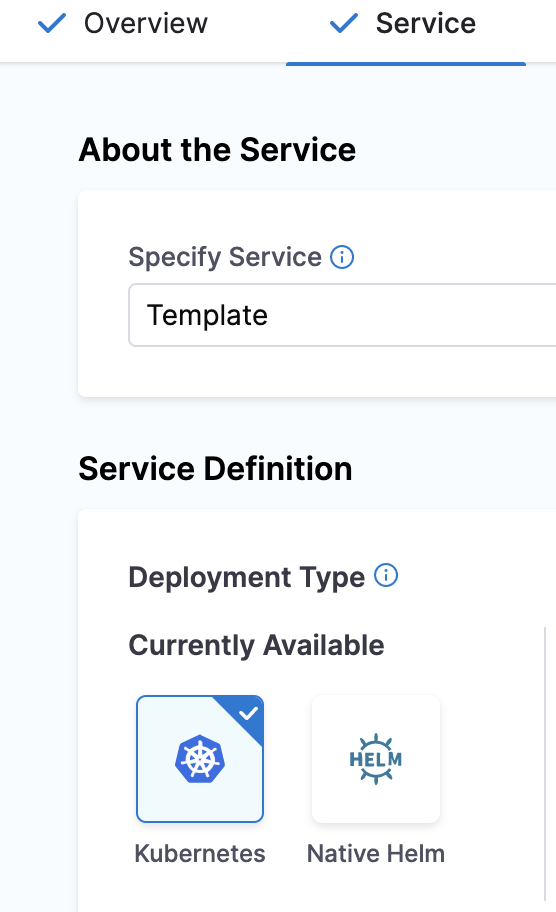
In About the Service, select the service that you want to deploy from the Specify Service list. You can also use fixed values, runtime inputs, and expressions.
Use Runtime Inputs instead of variable expressions: when you update template settings in a stage or step template, use runtime inputs instead of variable expressions. When Harness tries to resolve variable expressions to specific stage-level settings using fully-qualified names, it can cause issues at runtime. Every pipeline where the stage or step template is inserted must use the same names for fully-qualified name references to operate. With runtime inputs, you can supply values for a setting at deployment runtime.In Service Definition, select the Deployment Type. Deployment Type defines how your service will be deployed.
Step 4: Add infrastructure details
To add infrastructure details, do the following:
-
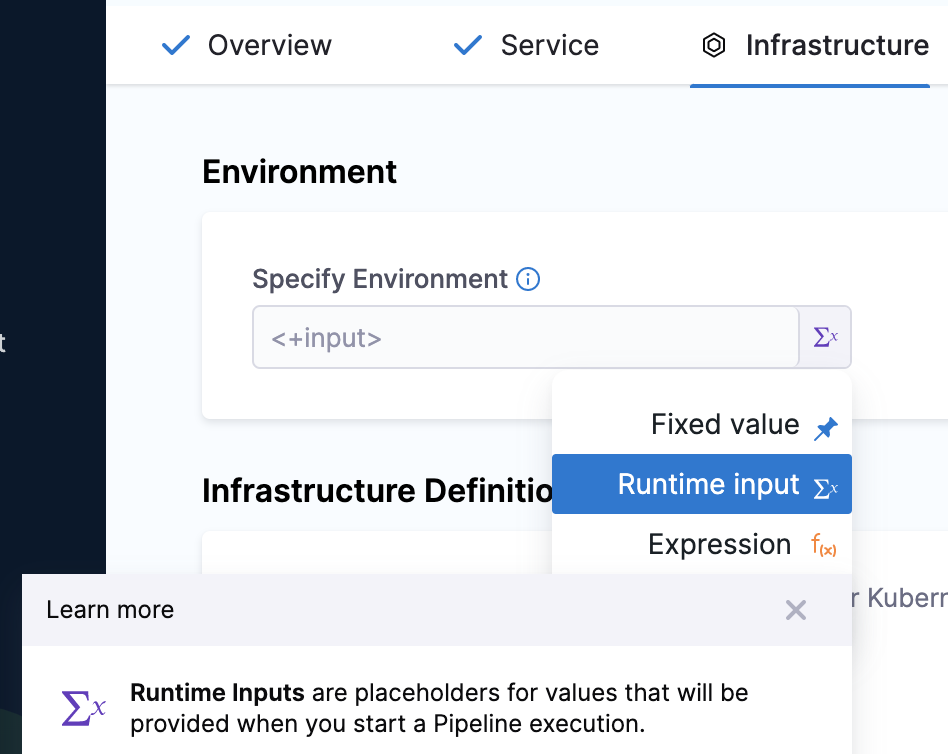
In Infrastructure, in Specify Environment, select the setting for your pipeline execution, for example, Runtime input. Harness pipelines allow you to use fixed values, runtime inputs, and expressions. Environments represent your deployment targets logically (QA, Prod, etc). You can add the same environment to as many stages as you need.
-
In Infrastructure Definition, select the method for Harness to reach your Kubernetes cluster. Infrastructure definitions represent the physical infrastructure of the environment. They are the actual clusters, hosts, etc. For example, the target infrastructure definition for a Kubernetes deployment. By separating environments and infrastructure definitions, you can use the same environment in multiple stages while changing the target infrastructure settings with each stage.
-
In Cluster Details, enter Connector and Namespace details. Harness pipelines allow you to use fixed values, runtime inputs, and expressions also.
-
In Connector, select a connector from the list. To create a new connector, go to Kubernetes cluster connector settings reference and Add a Kubernetes cluster connector.
-
In Namespace, enter the namespace. For example,
default.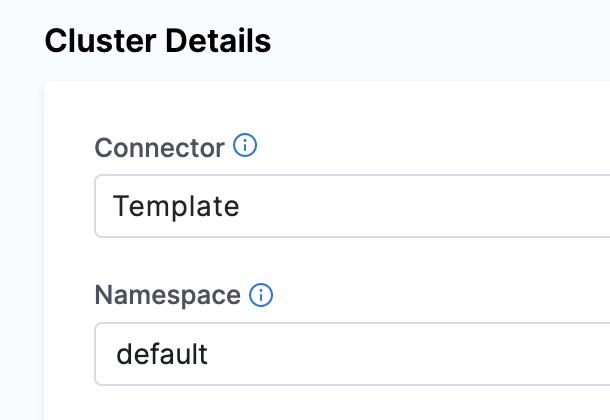
-
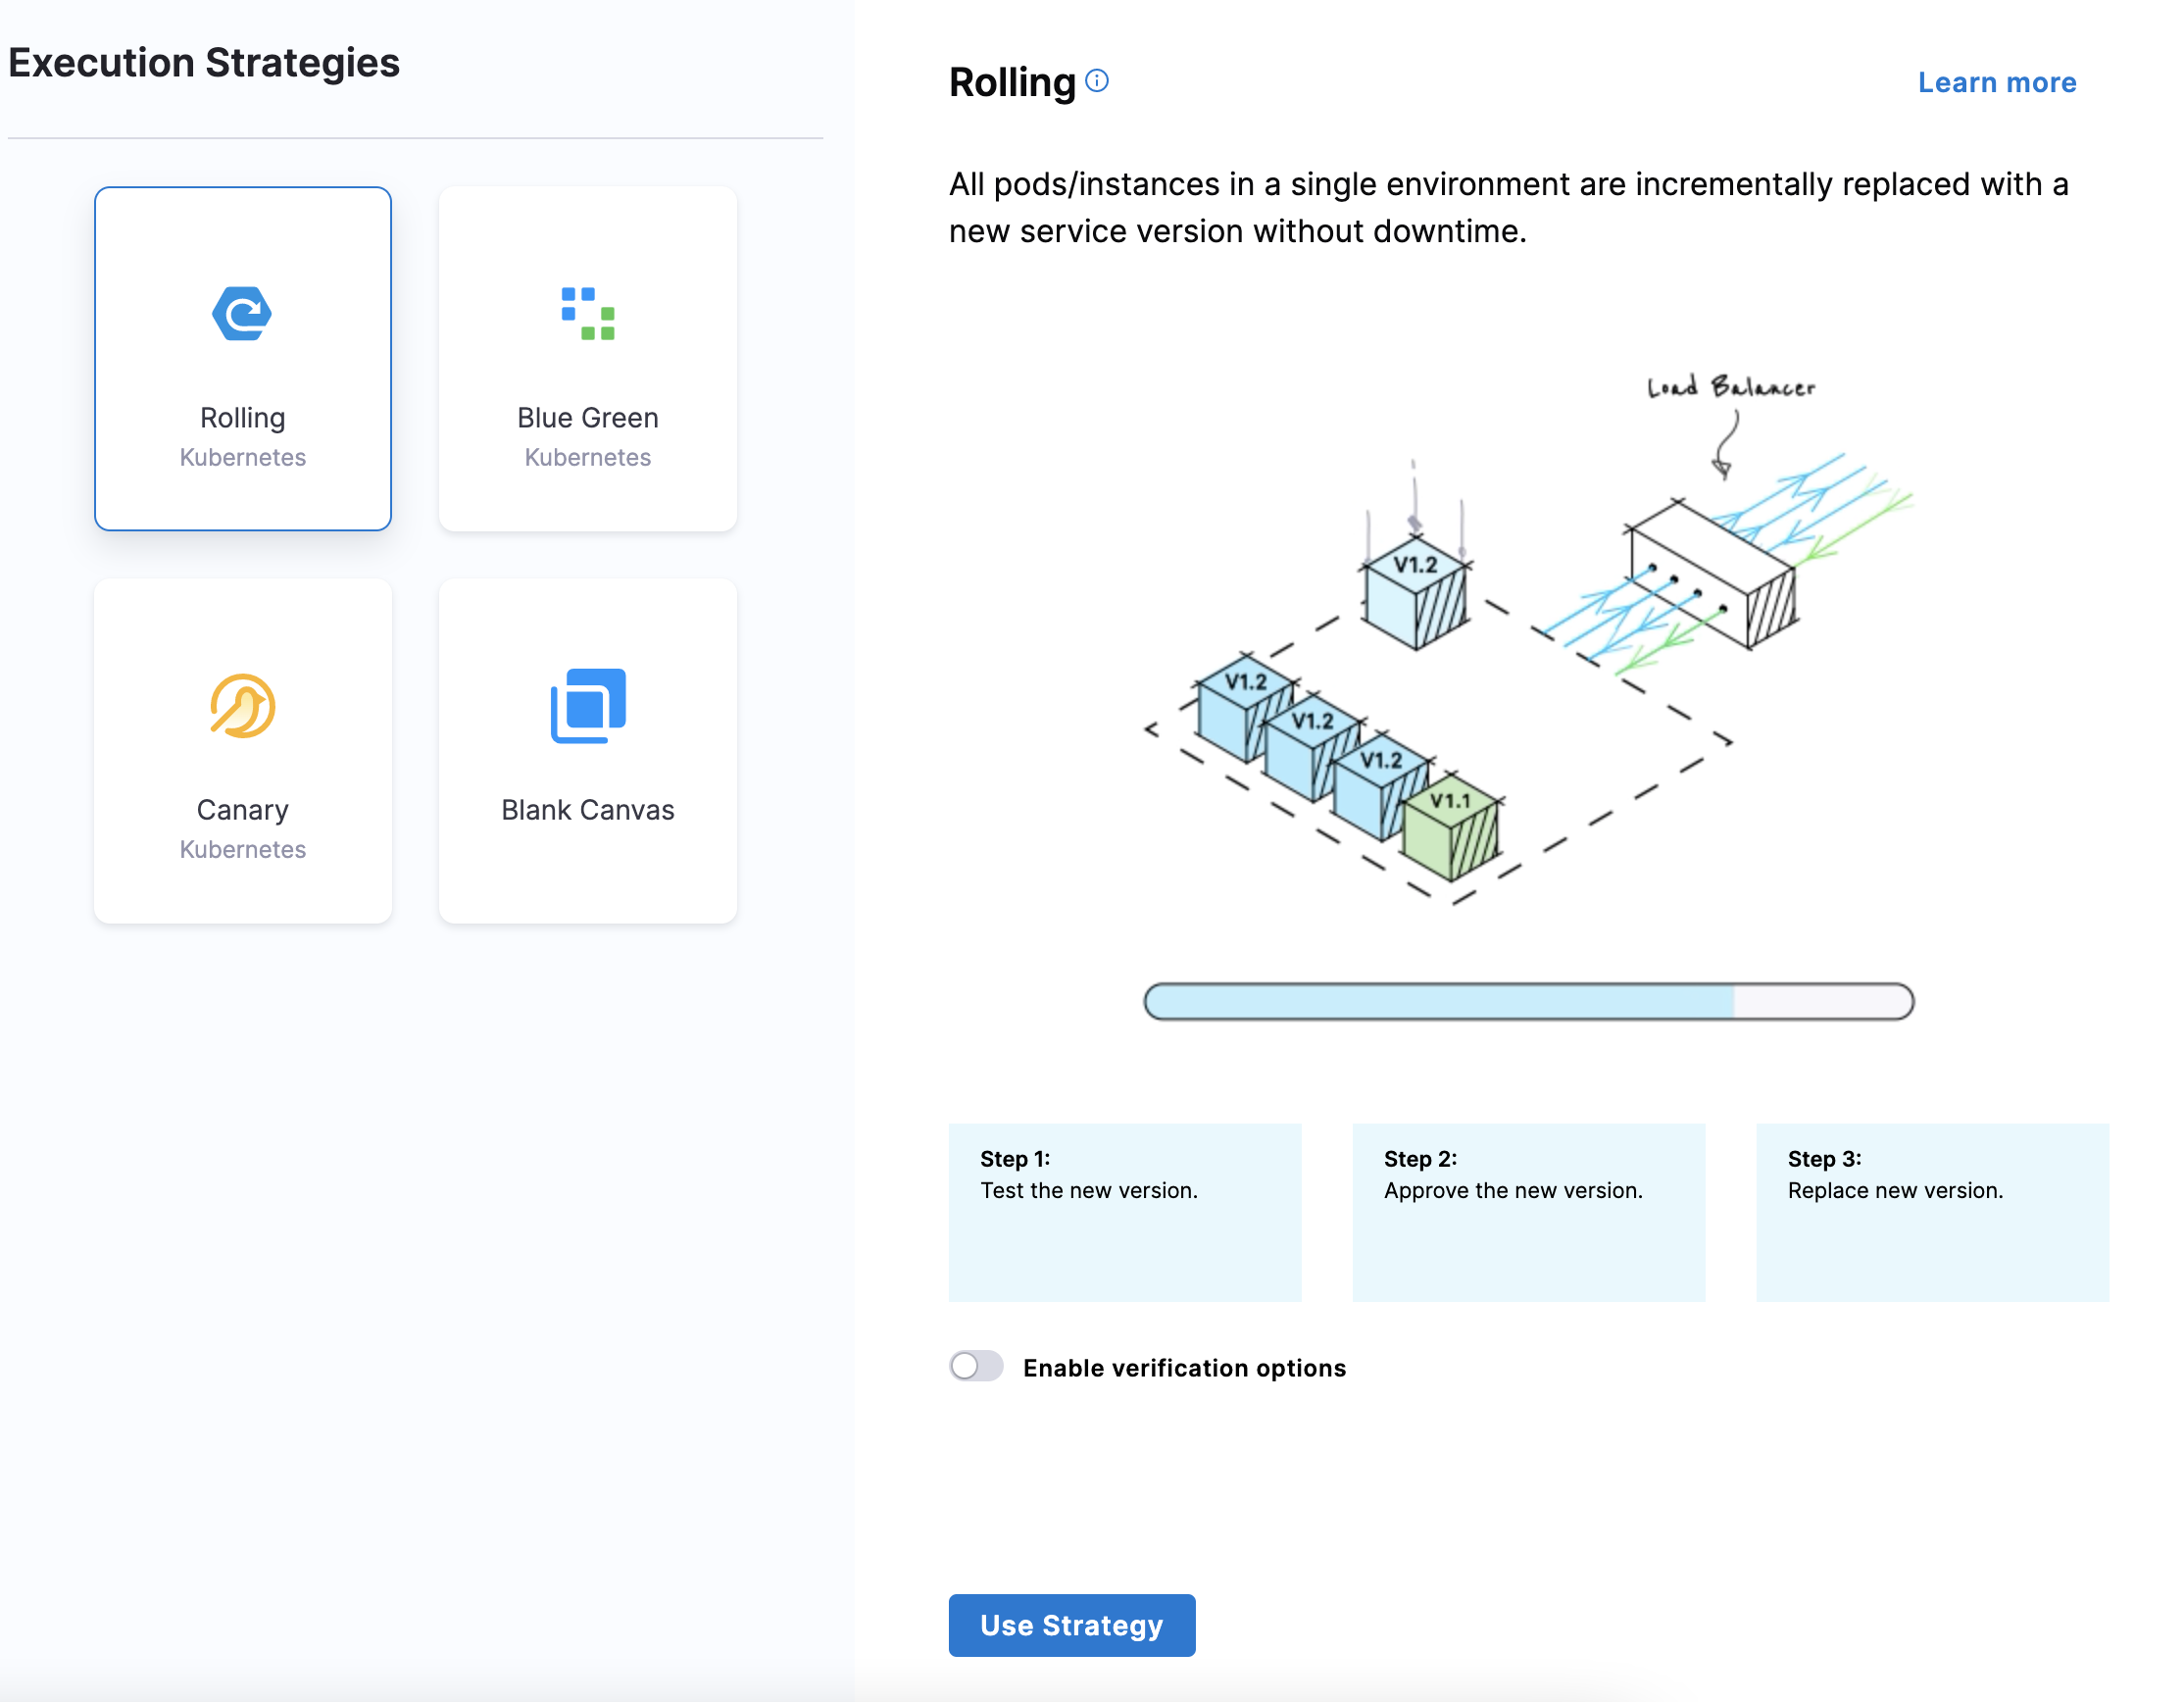
Select Next. The Execution Strategies settings open.
Step 5: Define execution strategies
To define execution strategies, do the following:
-
In Execution Strategies, select the deployment strategy for your pipeline template. We've used Rolling in this topic. For more information on different execution strategies, go to Deployment concepts and strategies.
-
Select Use Strategy.
-
Select Save. The pipeline template is published successfully.
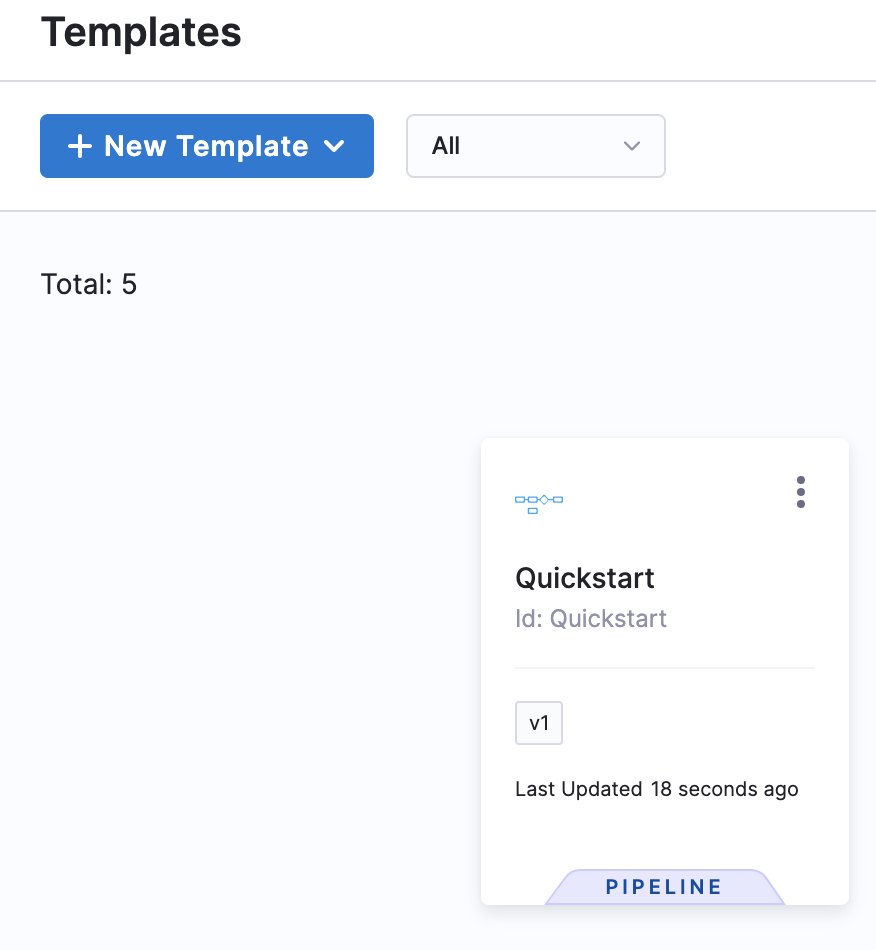
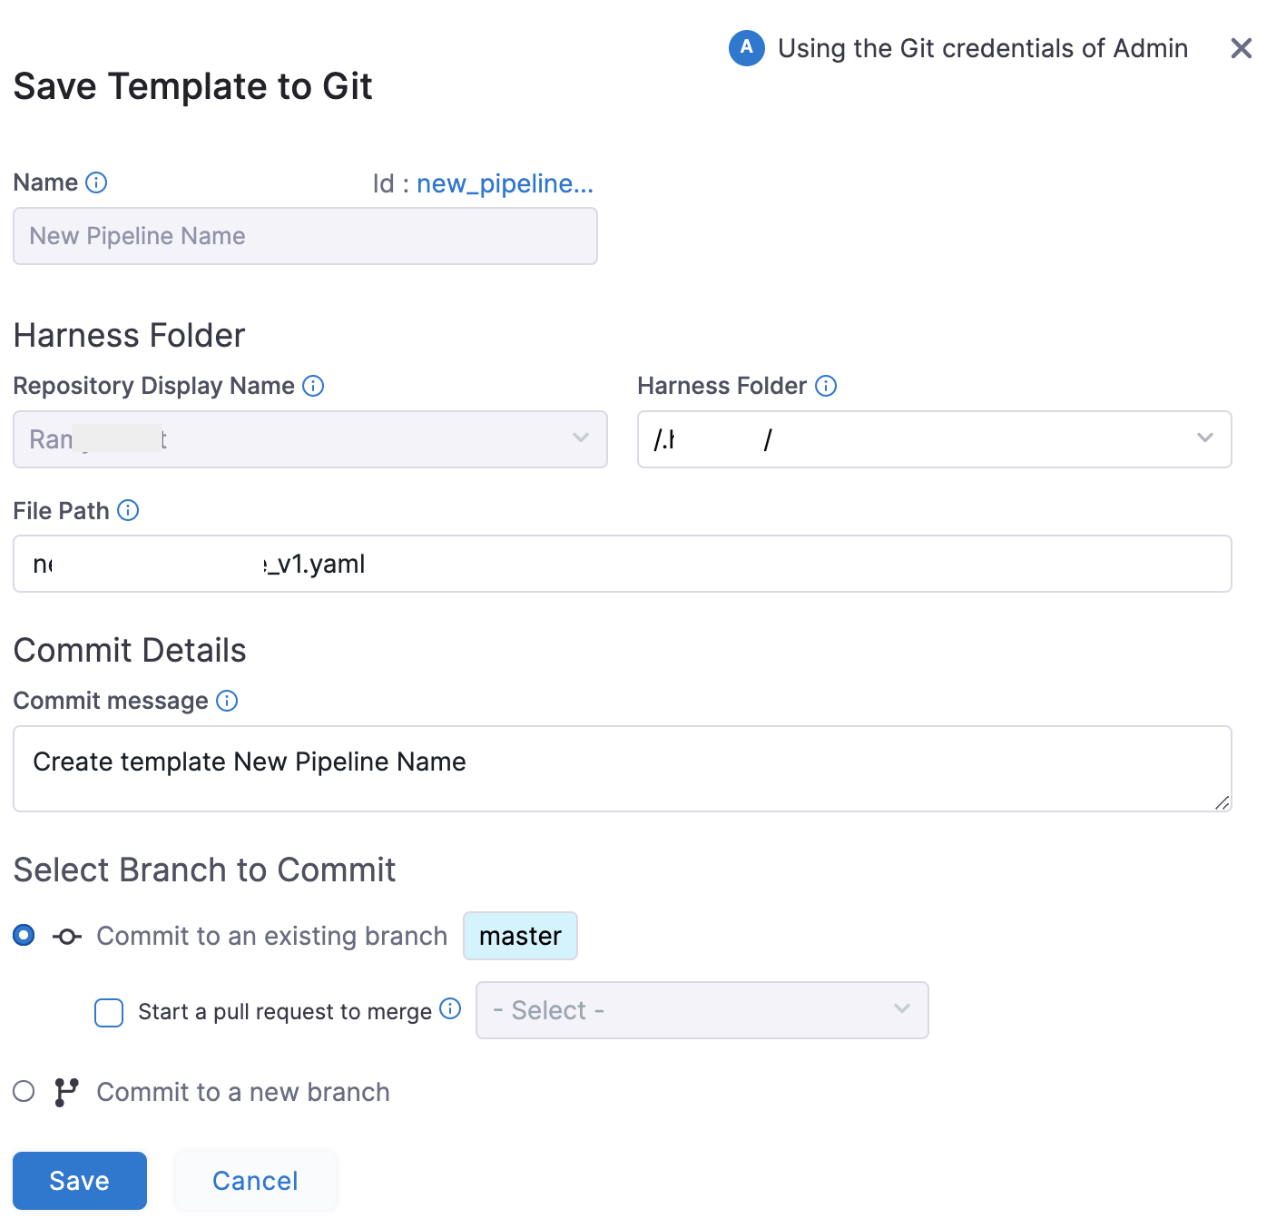
If you're using a Git-enabled project, you must provide Save Template to Git settings.
-
In Harness Folder, enter the name of the folder in your repo where you want to sync. The Harness Folder is the default folder in the repository where you are syncing your project.
-
In File Path, enter a name for the YAML file. For example,
Example.yaml. Harness will generate one automatically from the Pipeline name, but you can add your own. -
In Commit message, enter a message for the commit that adds this connector.
-
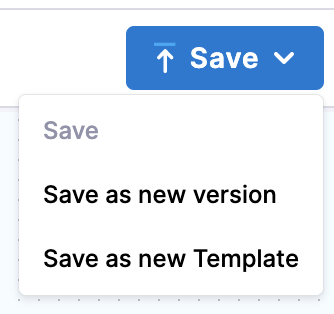
Select Save, and then select Save again. You can save the pipeline in two ways:
- As new version
- As a new template
-
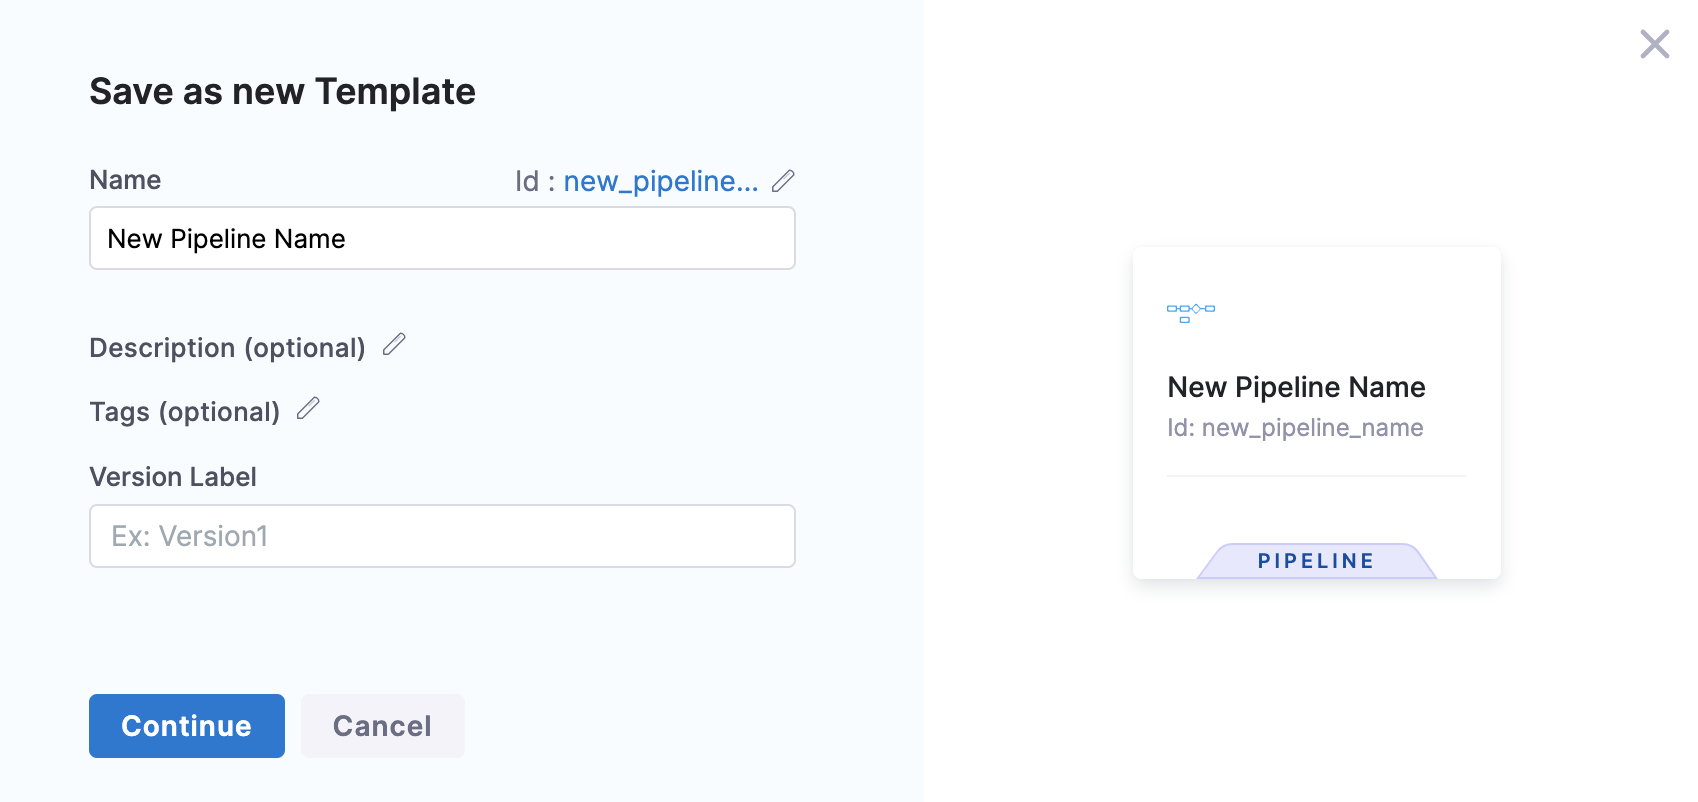
Select Save as new Template.
Save as new Template settings open.
-
Select Continue. The template is published successfully.
Use templates
After creating a template, use it to create a pipeline.
You can also: